Hathora Runners for Github Actions
This guide will help you set up self-hosted GitHub runners using Hathora’s bare metal and cloud infrastructure, enabling you to run your CI/CD workloads on dedicated hardware for more control, performance, and cost-efficiency.
Update your GitHub workflow
To use self-hosted runners, you need to update your GitHub Actions workflow.
- Open your
.github/workflows/ - Change the
runs-onvalue tohathorajobs:
build:
runs-on: hathora
steps:
- uses: actions/checkout@v2
- name: Run build script
run: ./build.sh
This tells GitHub to assign jobs to your Hathora fleet instead of using GitHub-hosted runners.
Set up your Hathora account
- Go to console.hathora.dev and create an account.
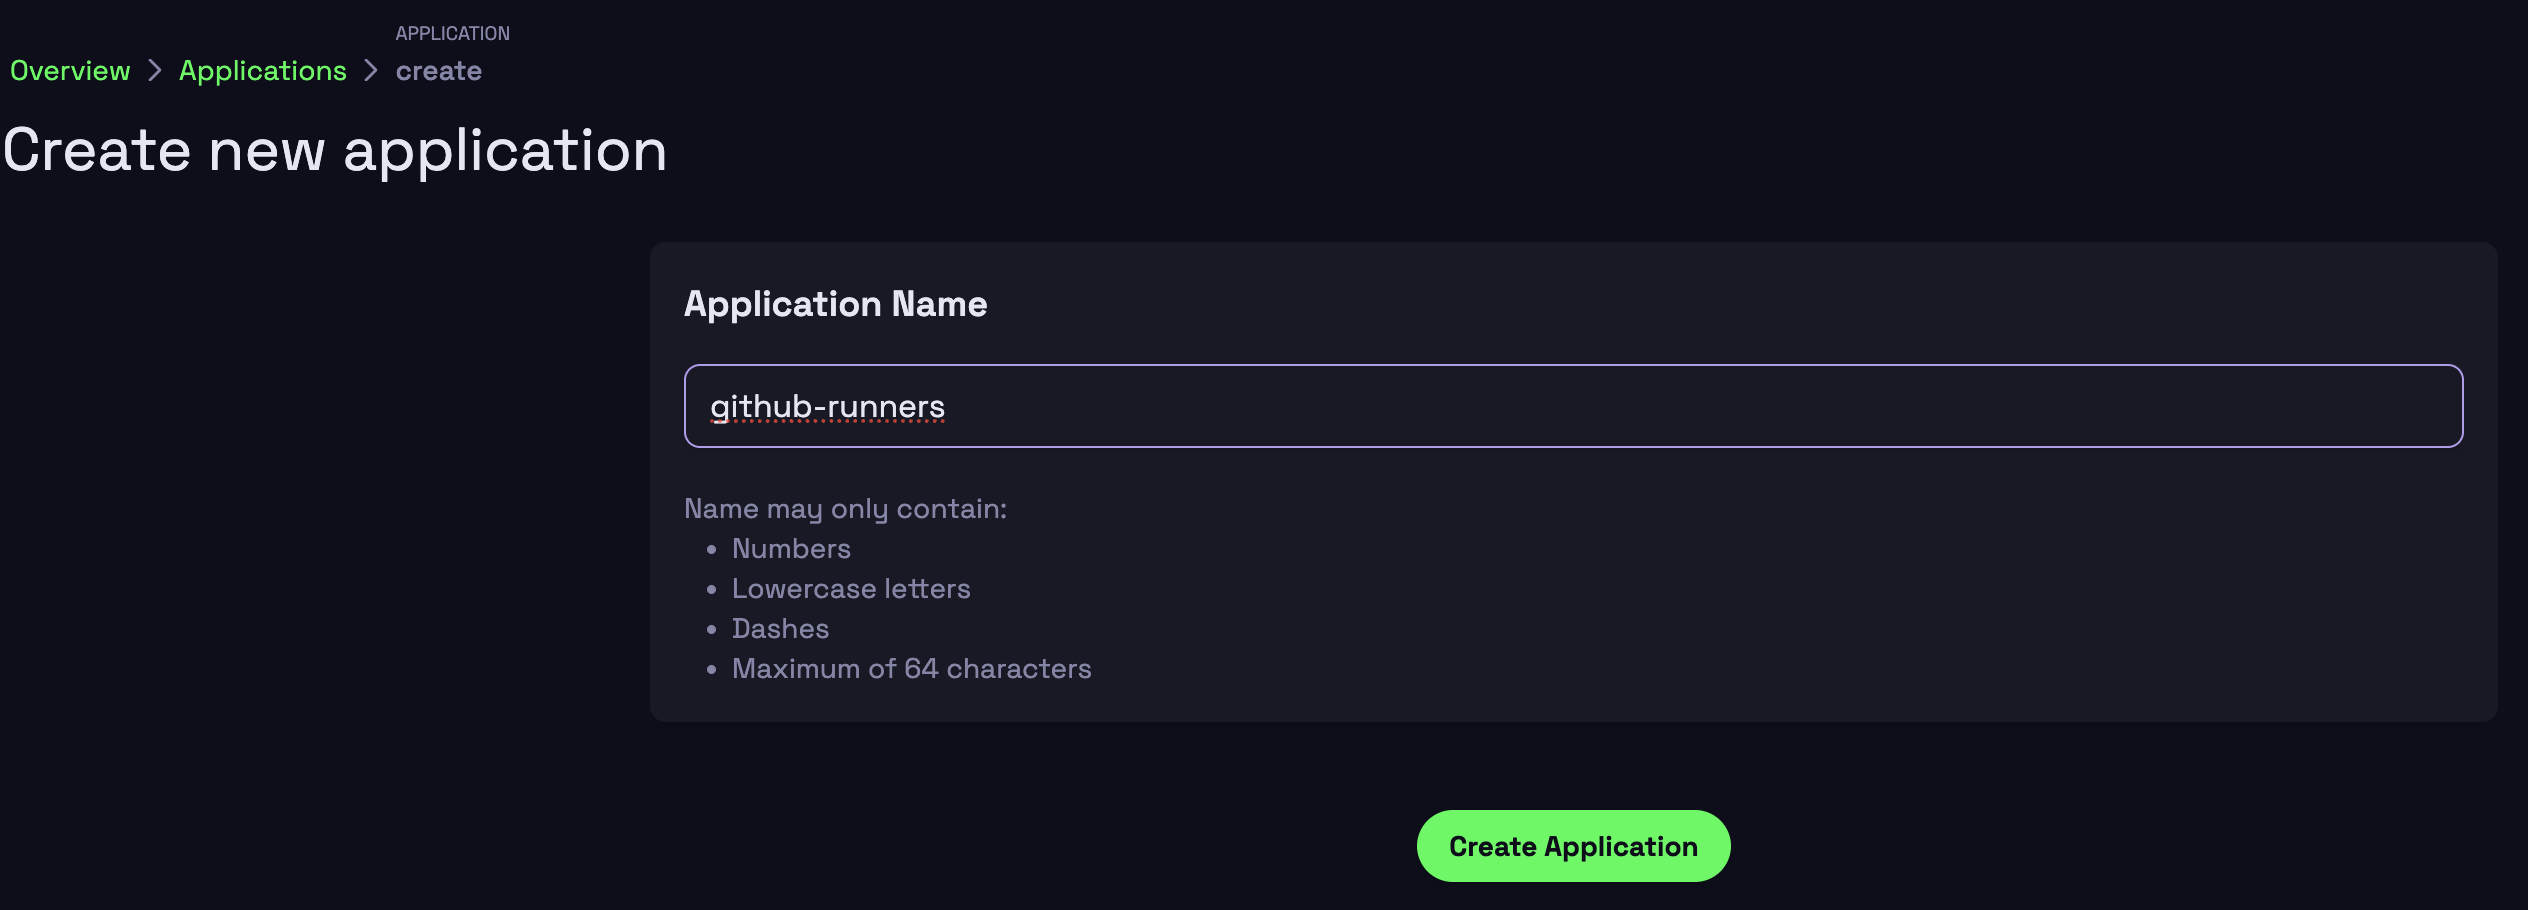
- Once logged in, create a new Application.
- You can name it something like github-runners (the name is for your reference only)
- You can name it something like github-runners (the name is for your reference only)
Select the Hathora runner build image
Hathora provides a pre-built public image for GitHub runners.
- Select External Registry
- Specify the Image name as
hathora/github-actions-runnerand URL asghcr.io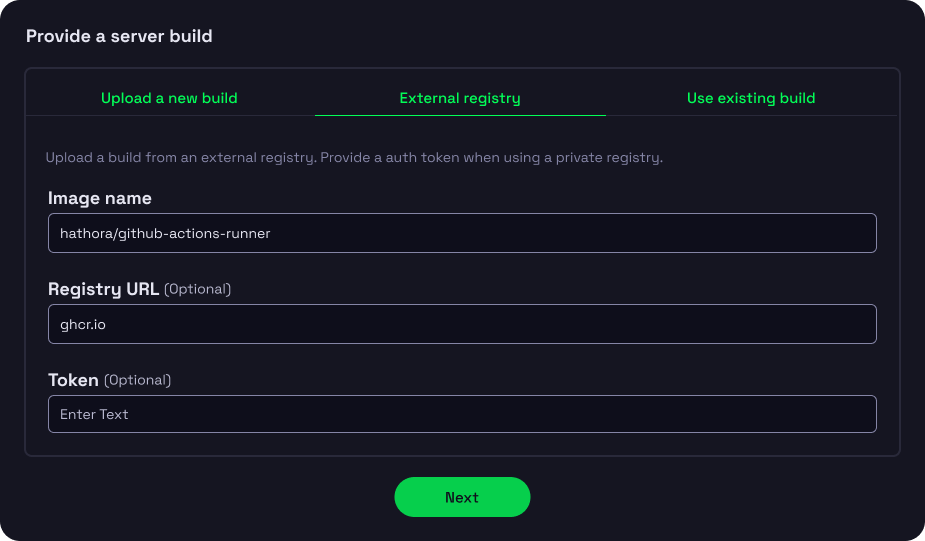 This image enables your deployed processes to communicate with GitHub and register as self-hosted runners.
Configure your resource profile
You’ll need to specify the hardware requirements for each runner.Choose a CPU:Memory configuration suitable for the tasks your runners will execute.
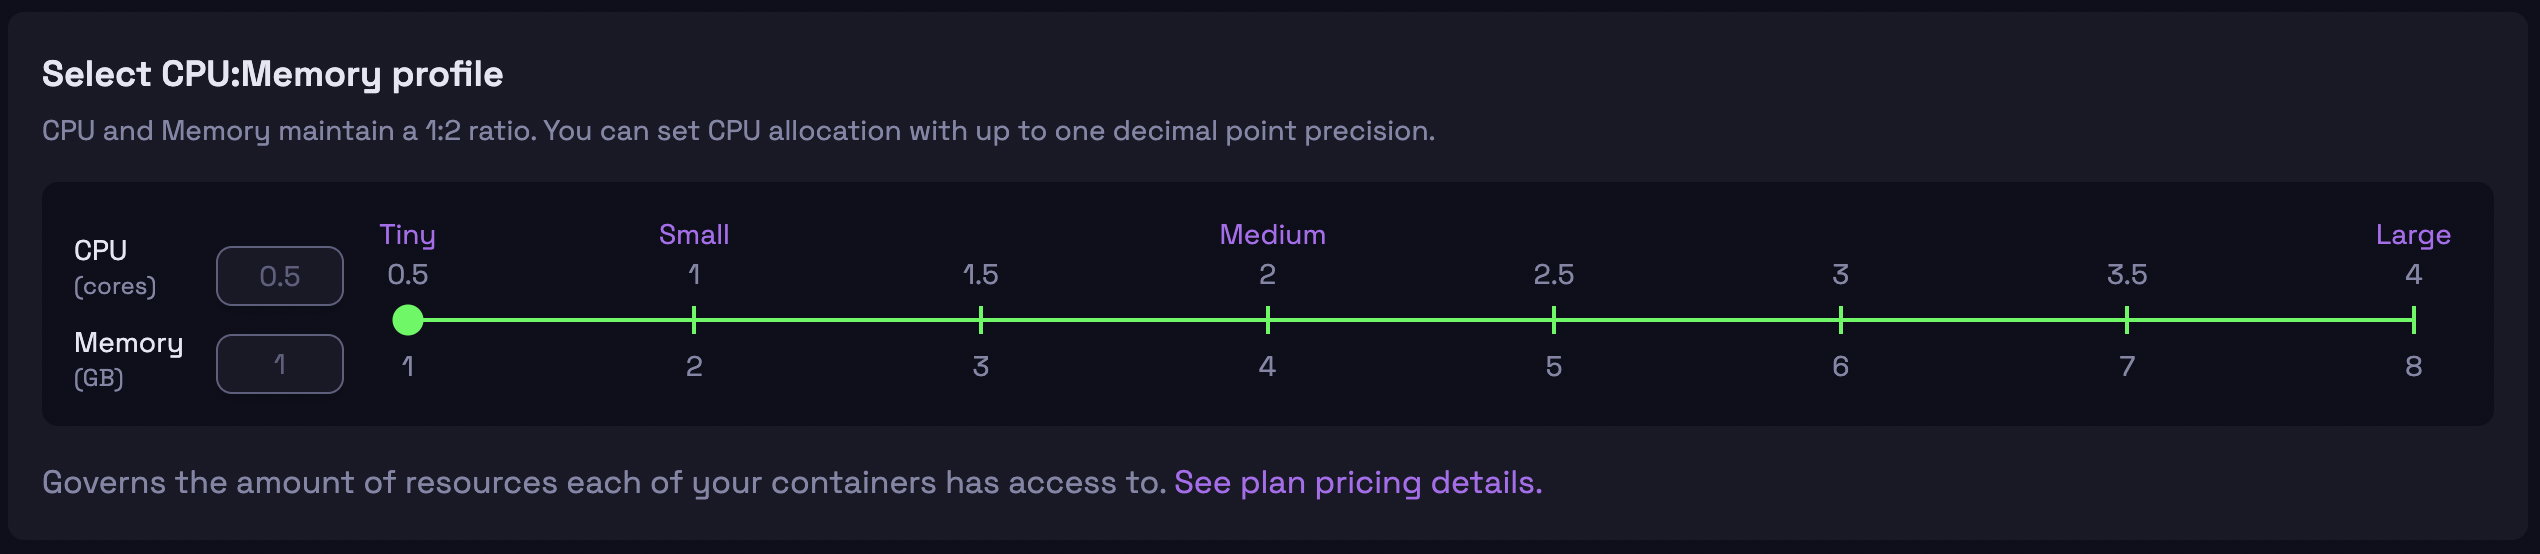 If you're unsure, start with a smaller profile and increase as needed.
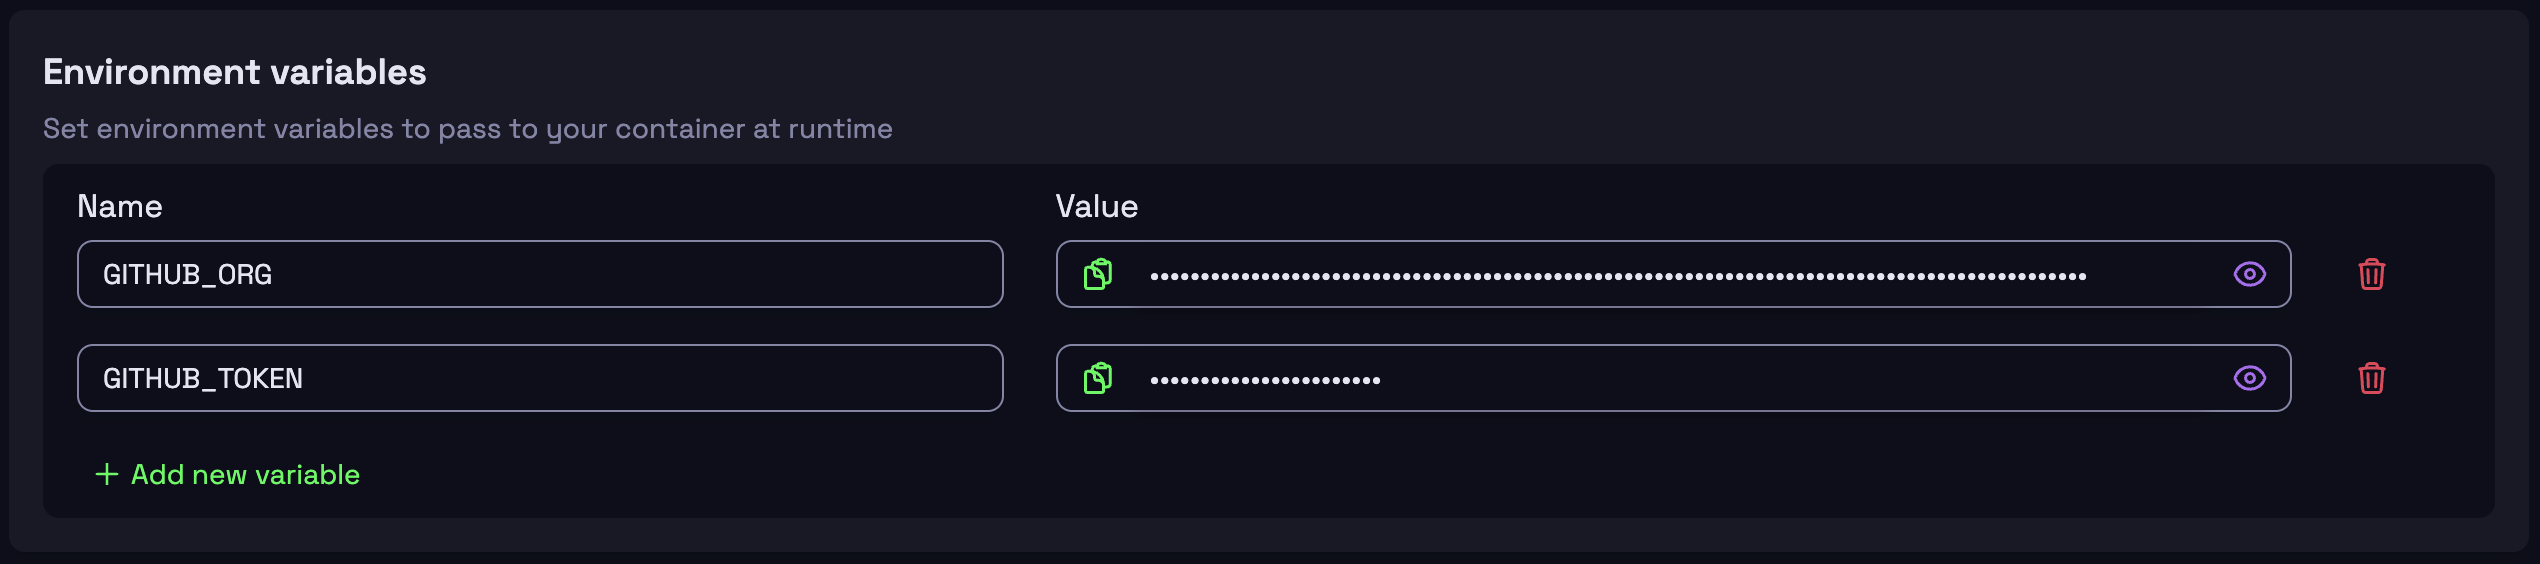
Set required environment variables
Set the following Environment Variables in your deployment configuration:
- GITHUB_ORG = your GitHub organization name
- GITHUB_TOKEN = a Personal Access Token with appropriate permissions to register and run runners
- GITHUB_ADDITIONAL_LABELS = optionally add custom labels to your runners
Deploy and configure runner availability
- Click Create deployment to launch your GitHub runners on Hathora’s infrastructure
- After deployment, navigate to the Settings page for your application
- In Advanced Settings at the bottom, expand the Static Process Allocation section.
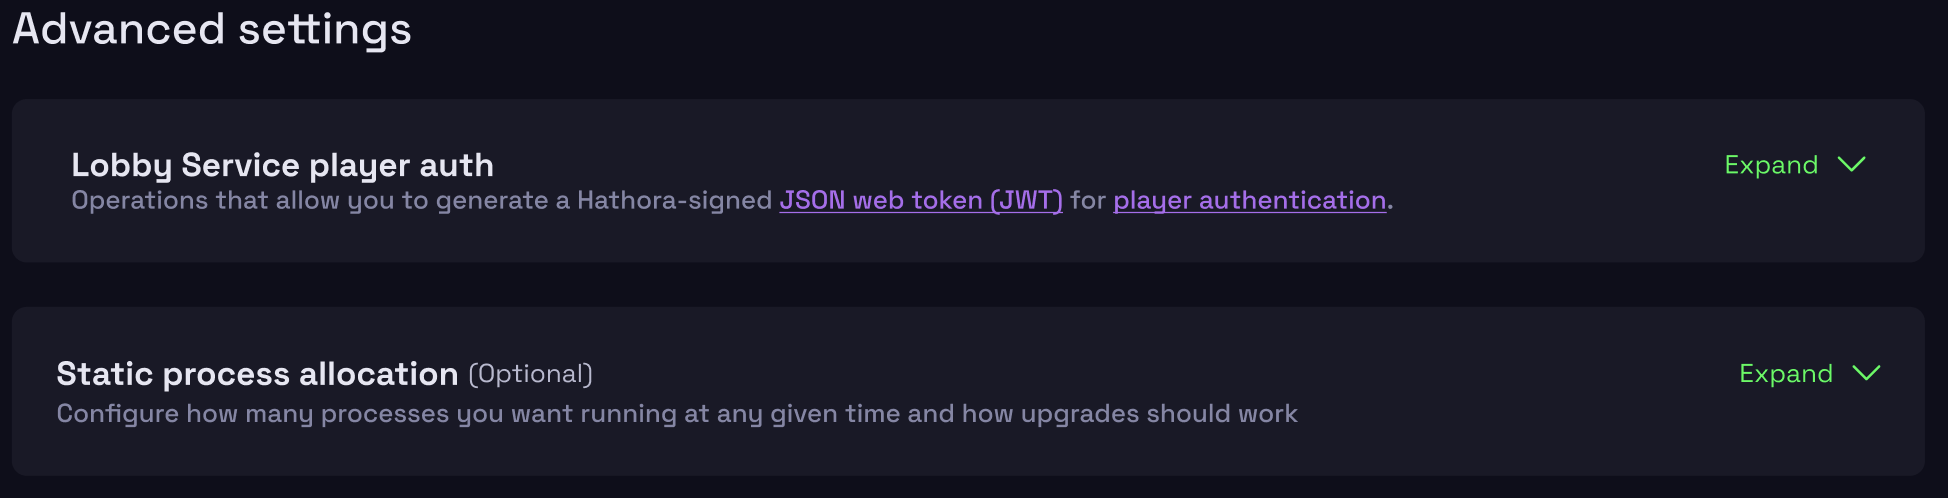
- Set the Target to the number of runners you want to be available.

If you're using our bare metal capacity, we recommend setting the Target number of runners equal to how many runners can fit on your bare metal node in that region. This ensures that all of your bare metal capacity is fully utilized.