Upload builds and configure deployments
In Hathora, a build represents a server artifact and a deployment contains the runtime configurations for your container.
This page covers how to upload your custom server build and deploy it on Hathora.
Upload builds to Hathora
Builds in Hathora map directly to server builds from your existing CI/build pipeline. Use buildTag or override a unique buildId to map your server builds to external systems.
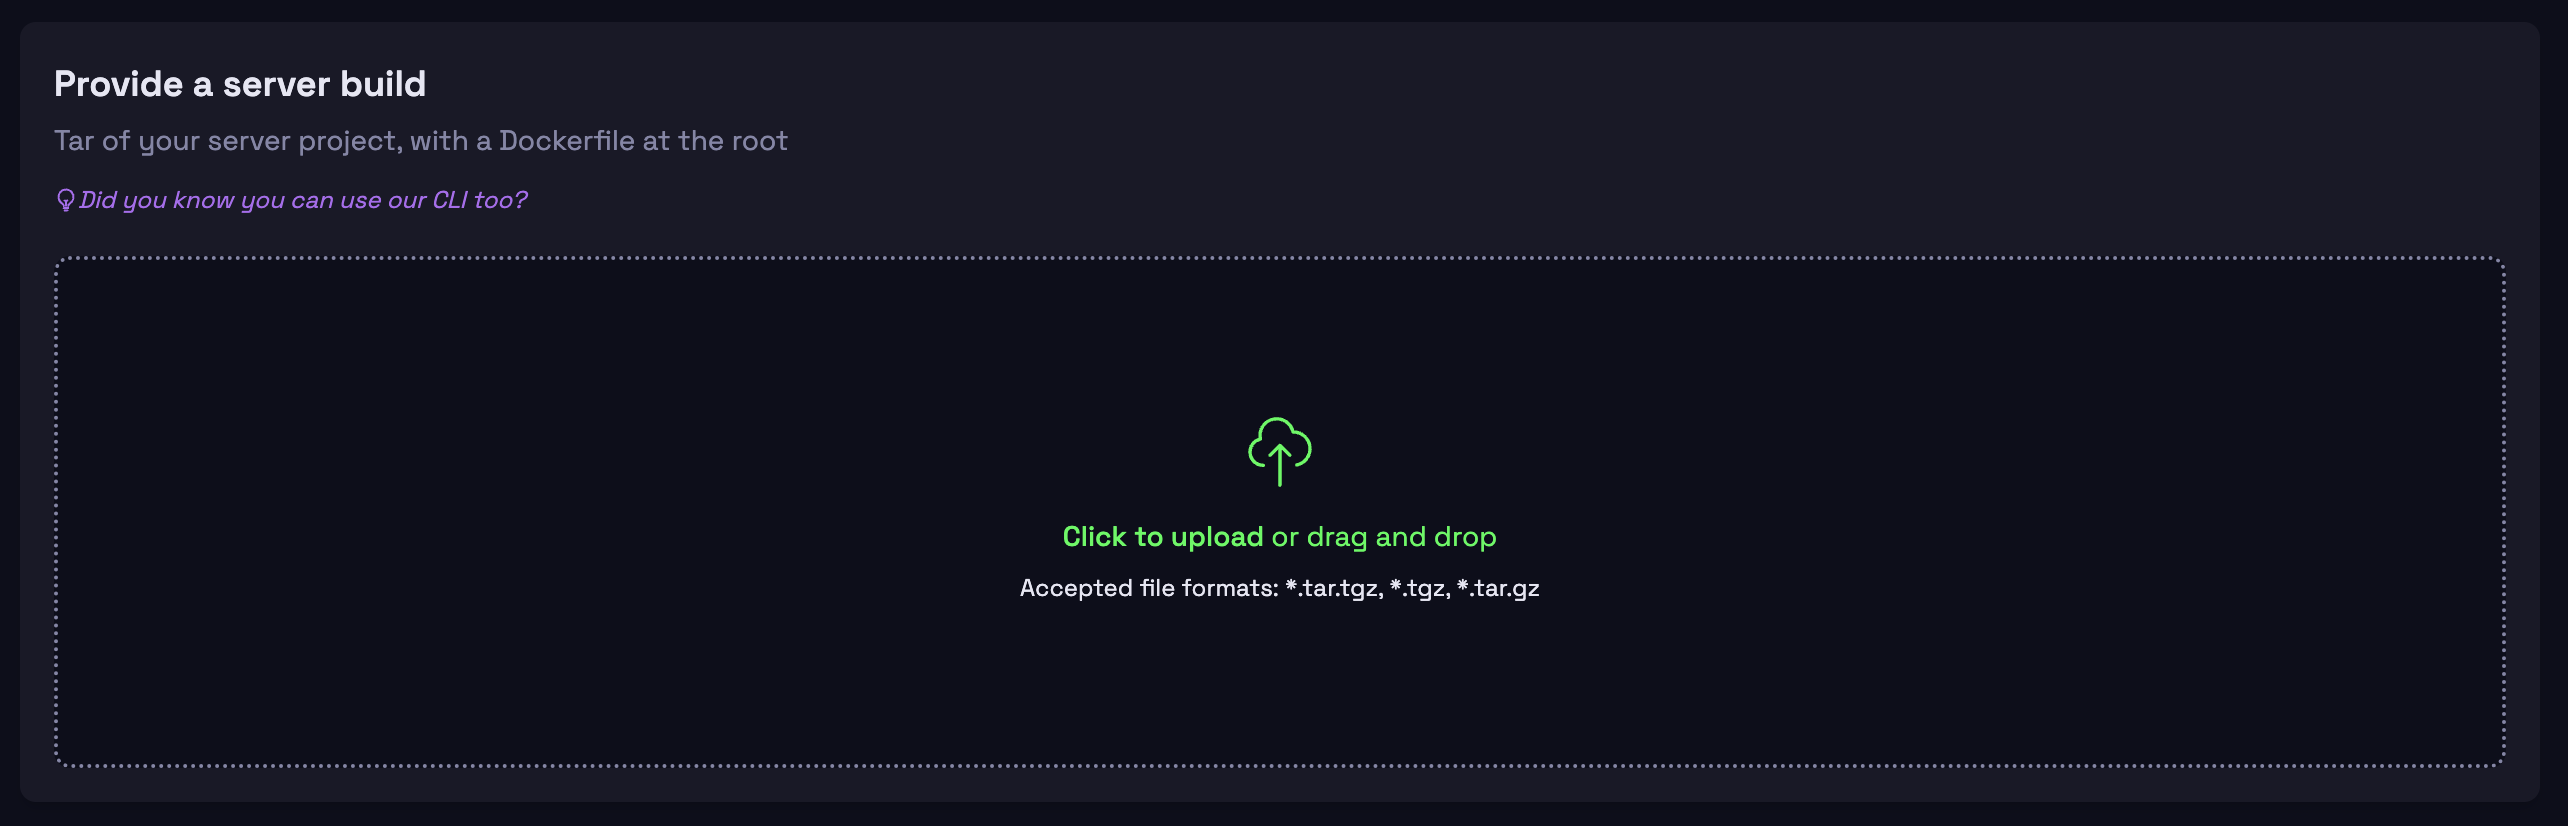
Upload a tarball (.tgz or tar.gz file) that contains a Linux server build and a Dockerfile in the root of the Tarball.
tar.gz file
├── Dockerfile
└── <...your server build/project files>
Under the hood, we use Docker containers to offer a flexible and reliable environment for your servers. By using containers, you can customize the runtime environment for your server, ensuring it’s lightweight, portable, and consistent.
The Dockerfile must contain the target OS, install dependencies, and on optional init.sh script. Learn more about how to create a dockerfile or checkout a sample init.sh script.
To upload your build file, use the Hathora CLI tool from your terminal or a script:
hathora build create --file path/to/your-build.tar.gz
Or, drag and drop it directly in the Hathora Console UI.
Integrate with your CI system
Builds in Hathora work seamlessly with your existing CI system. Hathora supports TeamCity, Jenkins, GitHub Actions, and custom CI pipelines. Reuse builds across multiple applications in Hathora to enable flexible environments and eliminate duplicate uploads.
For detailed instructions on connecting CI/CD systems, refer to our CI/CD guide.
Configure server deployments
Once you've successfully uploaded a server build to Hathora, the next step is to create a deployment so you can use it.
Create a deployment
A deployment defines the runtime configurations for a build. Deployments are used to:
- Configure settings like transport type, port, and CPU/Memory profile
- Define custom environment variables
- Select a server build to use
- Optionally assign a custom
deploymentTagfor your deployment
To create a deployment, use the Hathora CLI tool from your terminal or a script:
hathora deployment create -b "$buildId" \
        --app-id $APP_ID \
        --rooms-per-process $ROOMS_PER_PROCESS \
        --transport-type $TRANSPORT_TYPE \
        --container-port $CONTAINER_PORT \
        --env ENV1=$ENV1_VALUE \
        --env ENV2=$ENV2_VALUE \
        --token ${{ secrets.HATHORA_TOKEN }}
Or, configure the deployment using the Hathora Console UI.
Rolling upgrades
New deployments do not interrupt running processes, ensuring a smooth transition with zero downtime. Roll out new deployments confidently, even in live production environments.
Eager caching
Eager caching is an advanced feature only available to Pro and Enterprise customers. Learn more about Hathora tiers.
Eager caching enables near-instant process boot times (under 3 seconds). Hathora proactively pushes new deployments and their corresponding builds to all nodes in your fleet. Eager caching only applies to the latest deployment and pushes to all available nodes in your fleet at the time of deployment.
Launch your container
Once you have a container deployed on Hathora, it’s easy to spin up processes. Call the CreateRoom endpoint with a target region. Depending on if your application's connection mode is Direct or Load balanced, Hathora will either return a host:port or a load balanced URL to connect to.
You can use Hathora’s API endpoints from the Hathora SDKs(Java, Typescript, Go, Unreal, Unity/C#, Godot).
Activating a Deployment
By default, the createRoom API uses the latest deployment for an application. Alternatively, switch between deployed versions during development and testing by specifying a deploymentId in the createRoom request.
Only the latest deployment is eagerly cached.