 WebGL setup guide
WebGL allows your Unity game to be run on web browsers.
The Hathora Cloud Unity Plugin supports Unity WebGL with WebSocket Secure (WSS) connections. Below you'll find steps to setup WebGL for our FishNet demo.
Steps to enable:
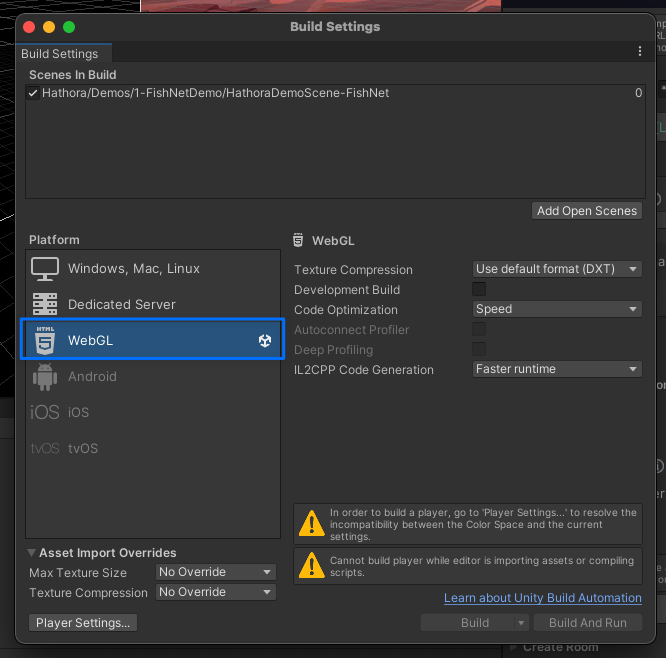
Switch Build Settings to WebGL
Open File > Build Settings...
- Switch to the "WebGL" platform
- If you are wanting to test with our FishNet demo, make sure that is the first scene
Server deployment (FishNet Demo)
1. Open the FishNet demo scene that comes with our Unity Plugin
Assets/Hathora/Demos/1-FishNetDemo
└── HathoraDemoScene-Fishnet
2. Inspect the scene's NetworkManager and locate the TransportManager
Assets/Hathora/Demos/1-FishNetDemo/HathoraDemoScene-Fishnet
└── Network Manager
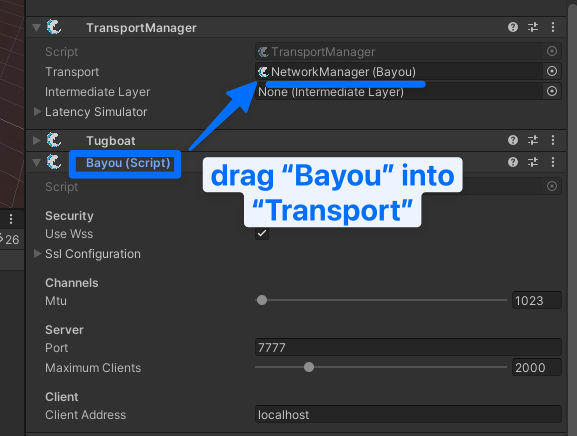
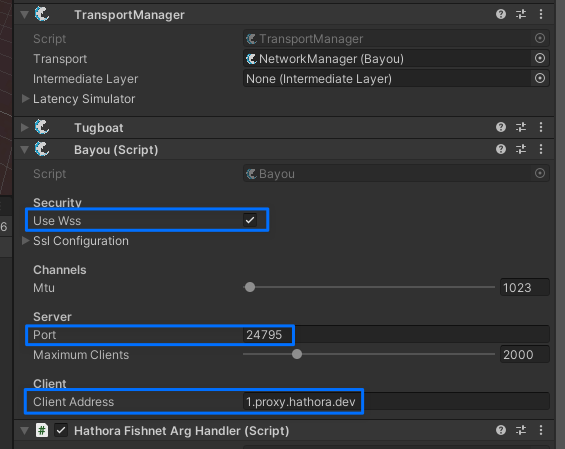
3. Set your TransportManager.Transport to use the Bayou transport
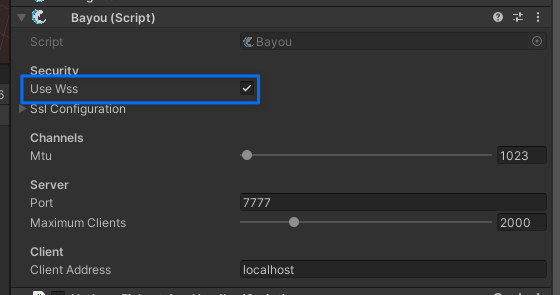
4. Configure the Bayou transport to Use WSS and enter the correct connection info for Port and Client Address
- Make sure that
Portis set to "7777" andClient Addressis set to "localhost", the port needs to match the port in the next step (deployment config).
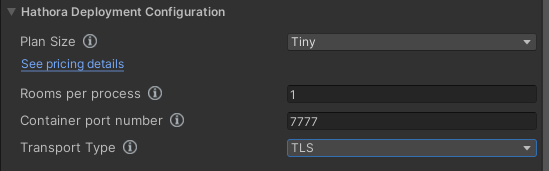
5. Deploy your server on Hathora Cloud
Important: make sure that you set TLS as the transport type.
Client setup (FishNet Demo)
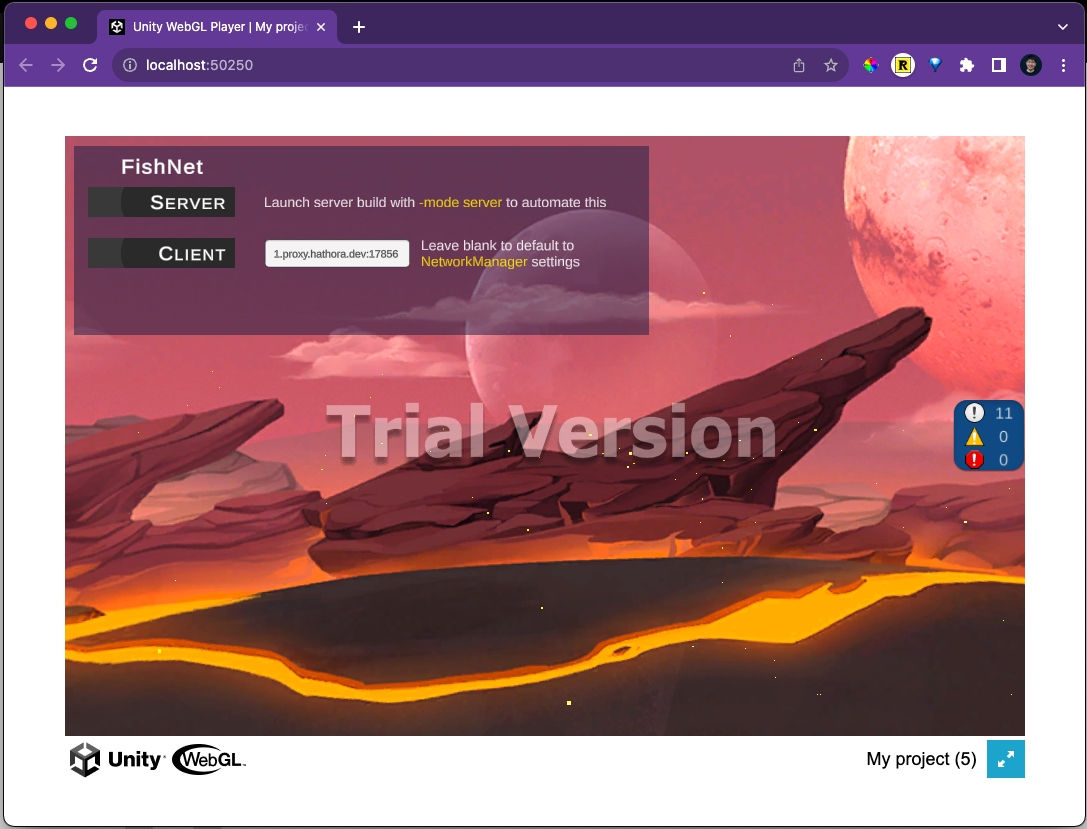
1. File > Build and Run to run the client in the browser
- This may take a few minutes to compile and run (longer the first time you run it)
2. Create a room (via plugin or Hathora Console)
3. Connect to the room using the connection info
- You can type the connection info to connect
- Alternatively, you can also manually set Bayou transport's
PortandClient Addressfields with the created room's connection info. NOTE: this needs to be set before you "Build and Run" your client (step 1).
Join our developer community!